 Home
Home
Lagune adapts to your environment, whether it is a new project or an existing one.
No API keys are needed, it runs directly through your own agent (Claude, Codex, and more).
- CLI
- Dashboard
Run without an agent key and Lagune asks you to choose one, then which specializations to install:
npx -y lagune@latest init

# Example using Lagune with Claude and OWASP specializations
npx -y lagune@latest init claude --skills owasp
See every key in Supported Agents.
🃏 Lagune runs on Node.js under the hood, you use whatever language you want.
What gets created
Running Lagune in your project creates two things:
.lagune/holds Lagune's state in that project: the charter, the artifact each phase produces, the on-demand skills you installed, and the internal tracking.- Agent commands are written into your agent's own location, in its native format, so the
/lagune.*commands are ready to run.
Your security work is committed alongside your code, versioned and reviewable like any other part of the project. Lagune's own files are gitignored by default, since pull brings them back from the manifest.
Update
To update Lagune's own files and its commands to their latest versions, run:
npx -y lagune@latest update
- Your charter, the artifacts each phase produces, the internal tracking, and any sub-skill you authored with
/lagune.specializestay untouched. - A command an earlier version wrote where your agent no longer reads it is removed in the same pass, so nothing stale lingers.
Pull
When you clone or fork a project that already has Lagune, run pull to install its files from the manifest:
npx -y lagune@latest pull
💡 Think of it as the Lagune equivalent of npm i, pip install -r requirements.txt, and the like.
Specializations
Lagune ships focused security sub-skills grouped into categories, from owasp to per-language ones like python, go, and rust. You install them by category with the --skills flag. The flag is the same everywhere, so what you learn for init works for add and remove too.
The agent commands are always set up. Specializations are what you choose on top.
Install at init
- Interactive
- Pick categories
- No specialization
--skills with no category opens an interactive picker (space to toggle, enter to confirm, empty to skip):
npx -y lagune@latest init claude --skills
Pass the categories after --skills, on the same line as the agent:
npx -y lagune@latest init claude --skills owasp
npx -y lagune@latest init claude --skills owasp javascript
Without --skills, the agent is set up and no specialization is installed. You can always add them later:
npx -y lagune@latest init claude
Add and remove anytime
The same --skills flag, without touching the agent.
- Add
- Remove
npx -y lagune@latest add --skills # interactive
npx -y lagune@latest add --skills owasp
npx -y lagune@latest add --skills owasp rust
npx -y lagune@latest remove --skills # interactive
npx -y lagune@latest remove --skills owasp
npx -y lagune@latest remove --skills owasp rust
See what exists
list on its own asks what you want to see, the findings Lagune is tracking or the specialization categories, then prints that. Skip the prompt with a flag: --findings for the tracked findings, --skills for the categories.
npx -y lagune@latest list --skills
# Specializations .lagune/skills/
#   • owasp       [installed]  Harden against the application security risks OWASP tracks
#   • javascript  [available]  JavaScript and its runtimes
#   • php         [available]  PHP and its language-specific risks
#   • go          [available]  Go and its language-specific risks
#   ...
See every category in Skill Categories.
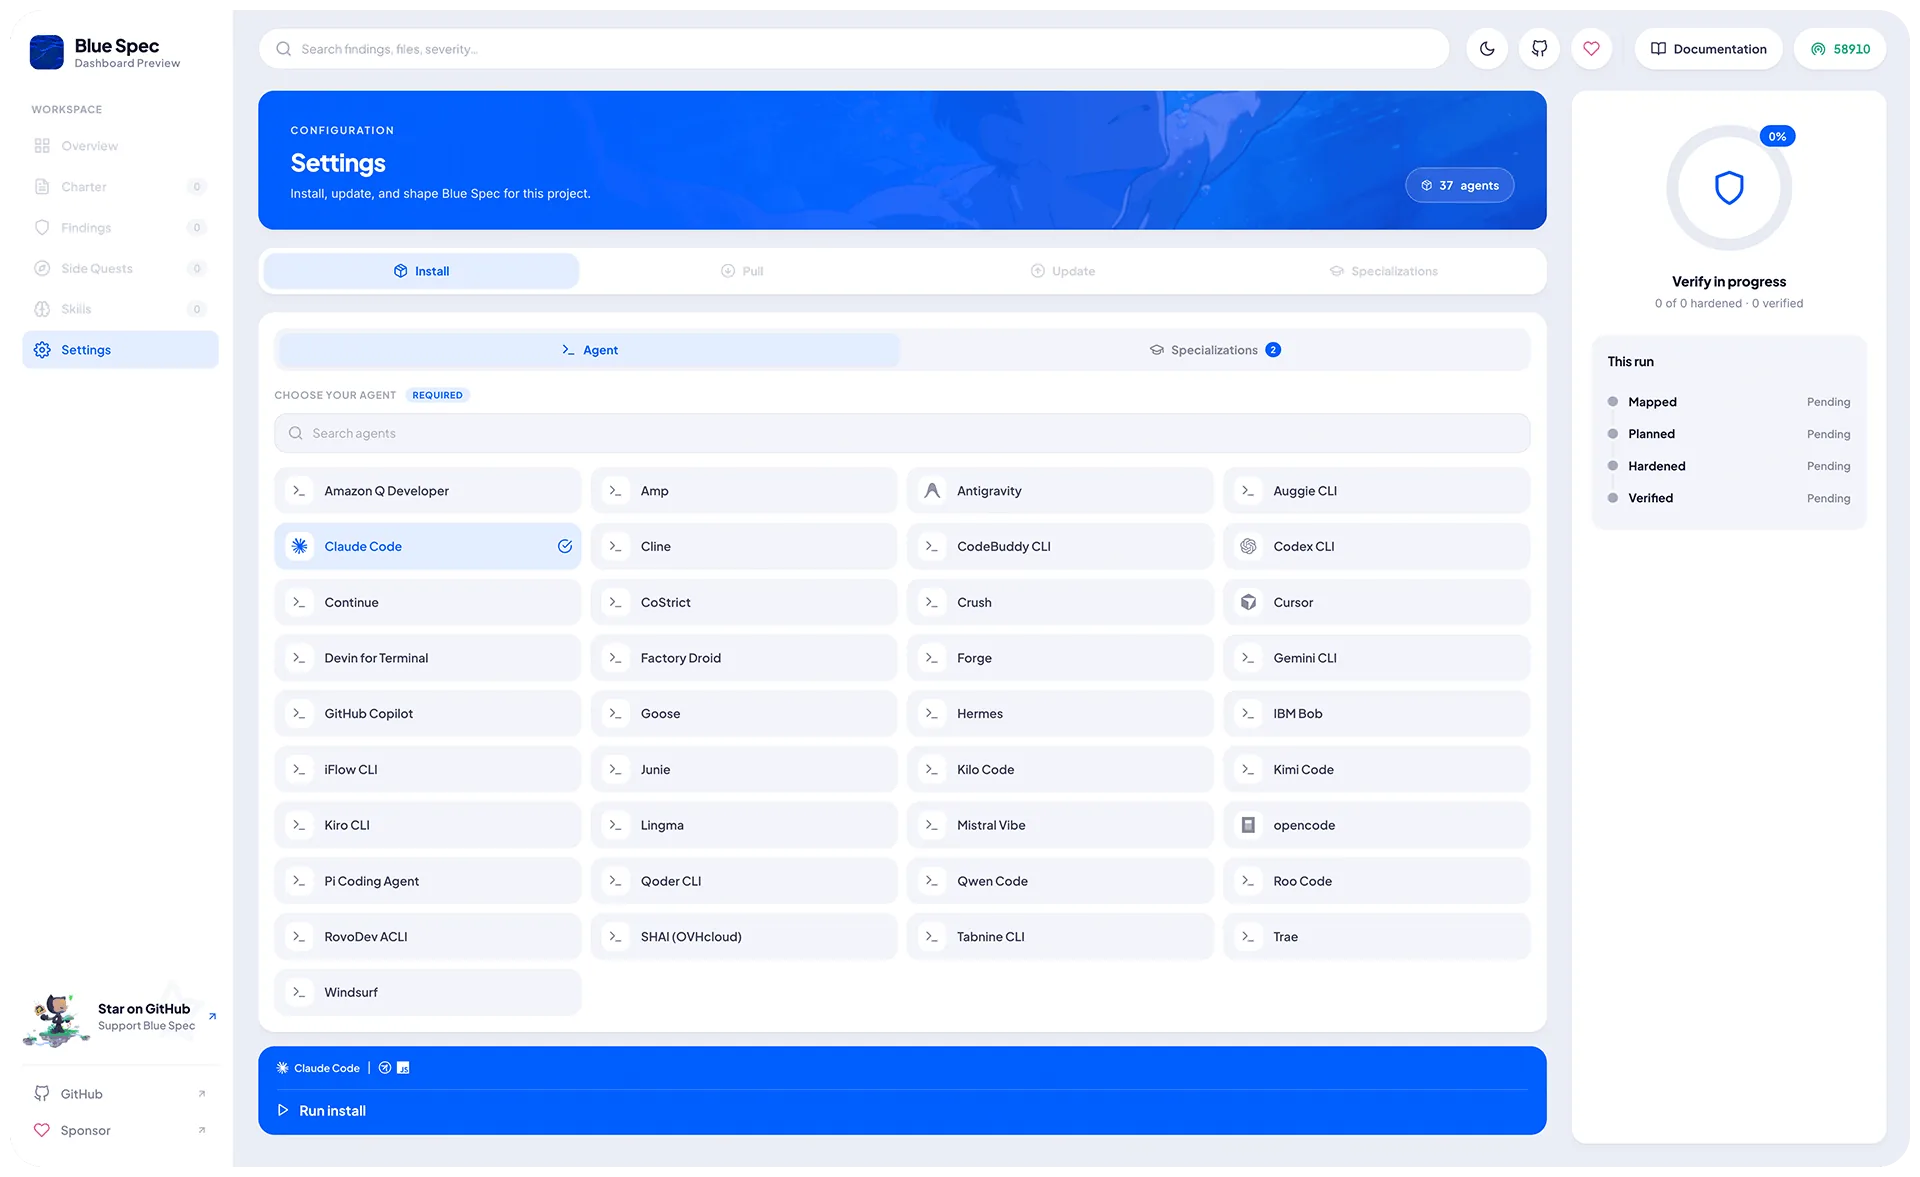
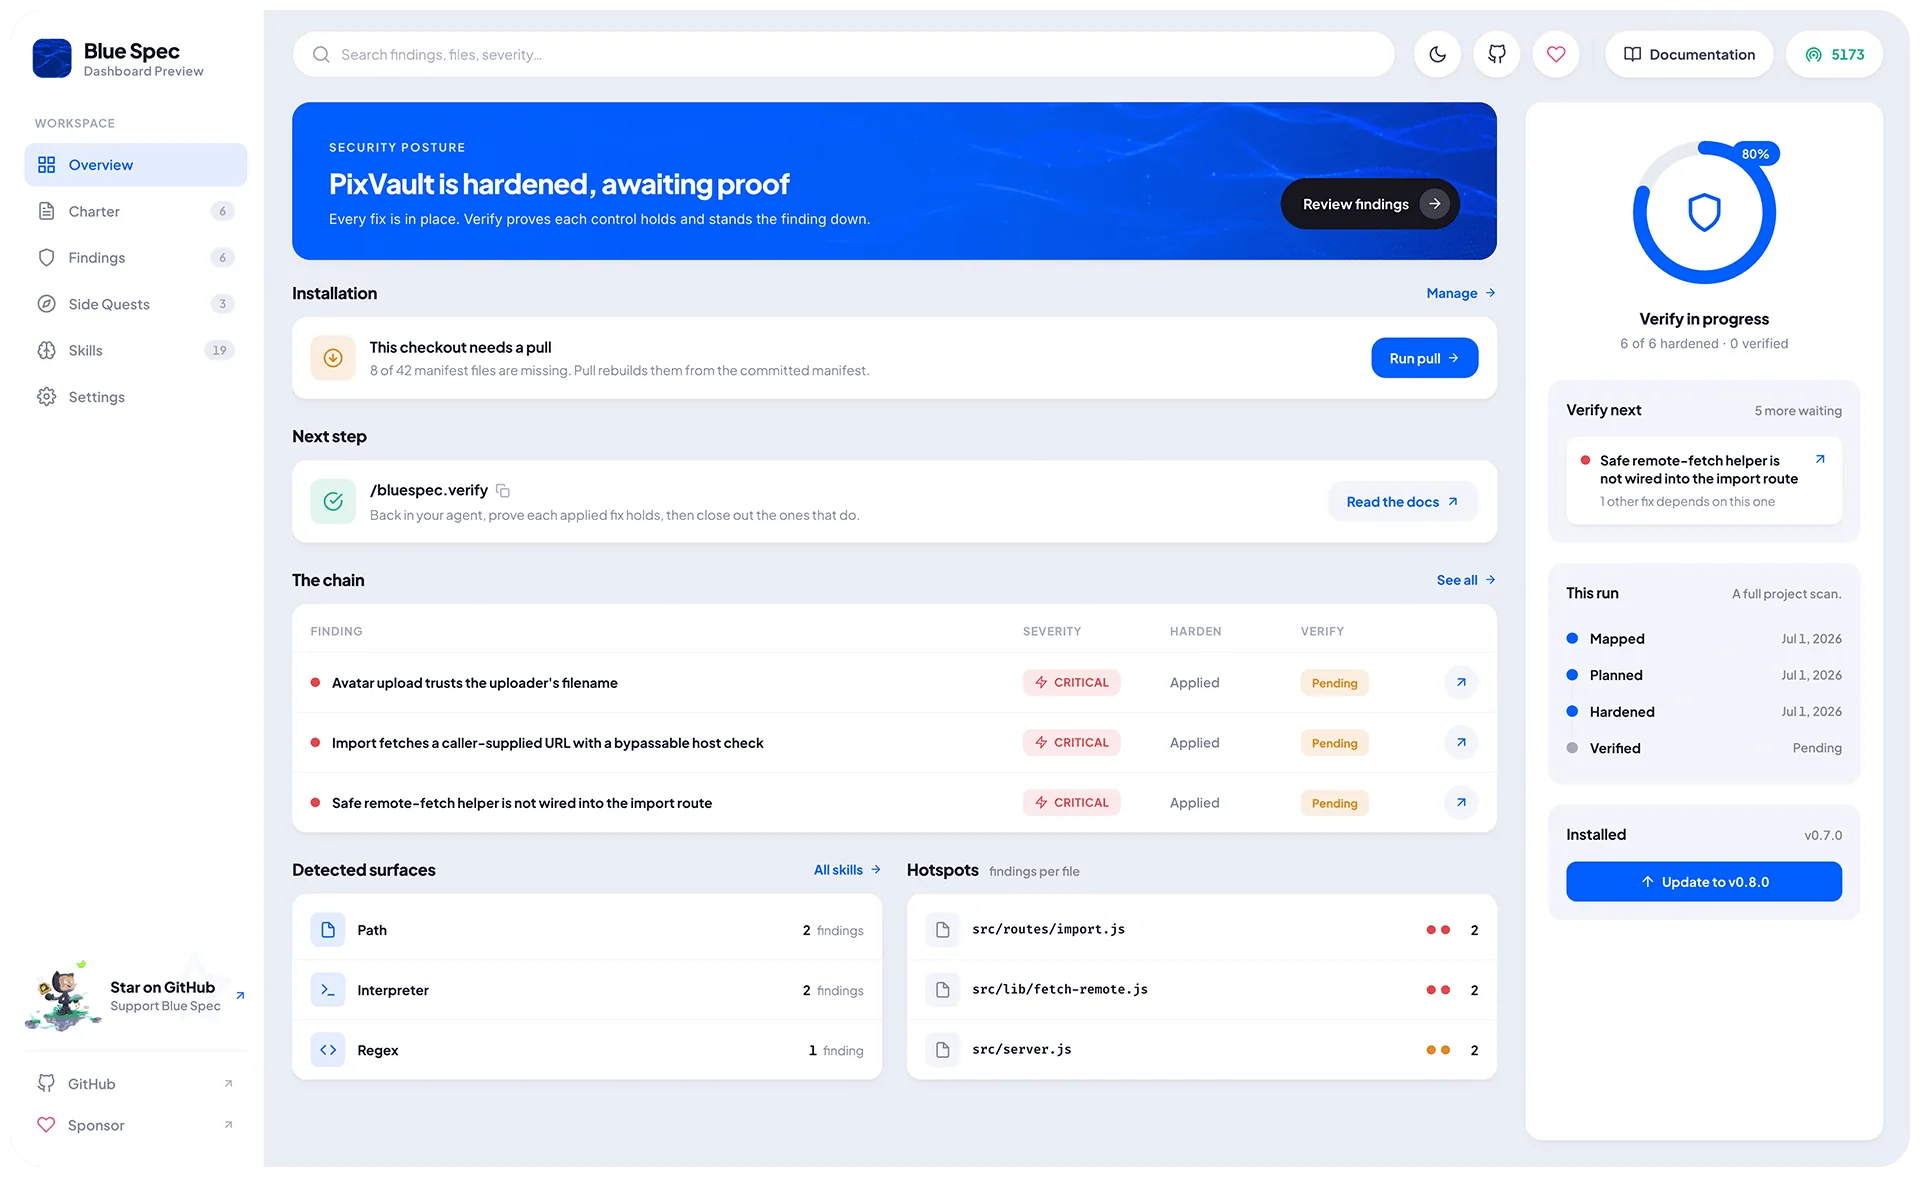
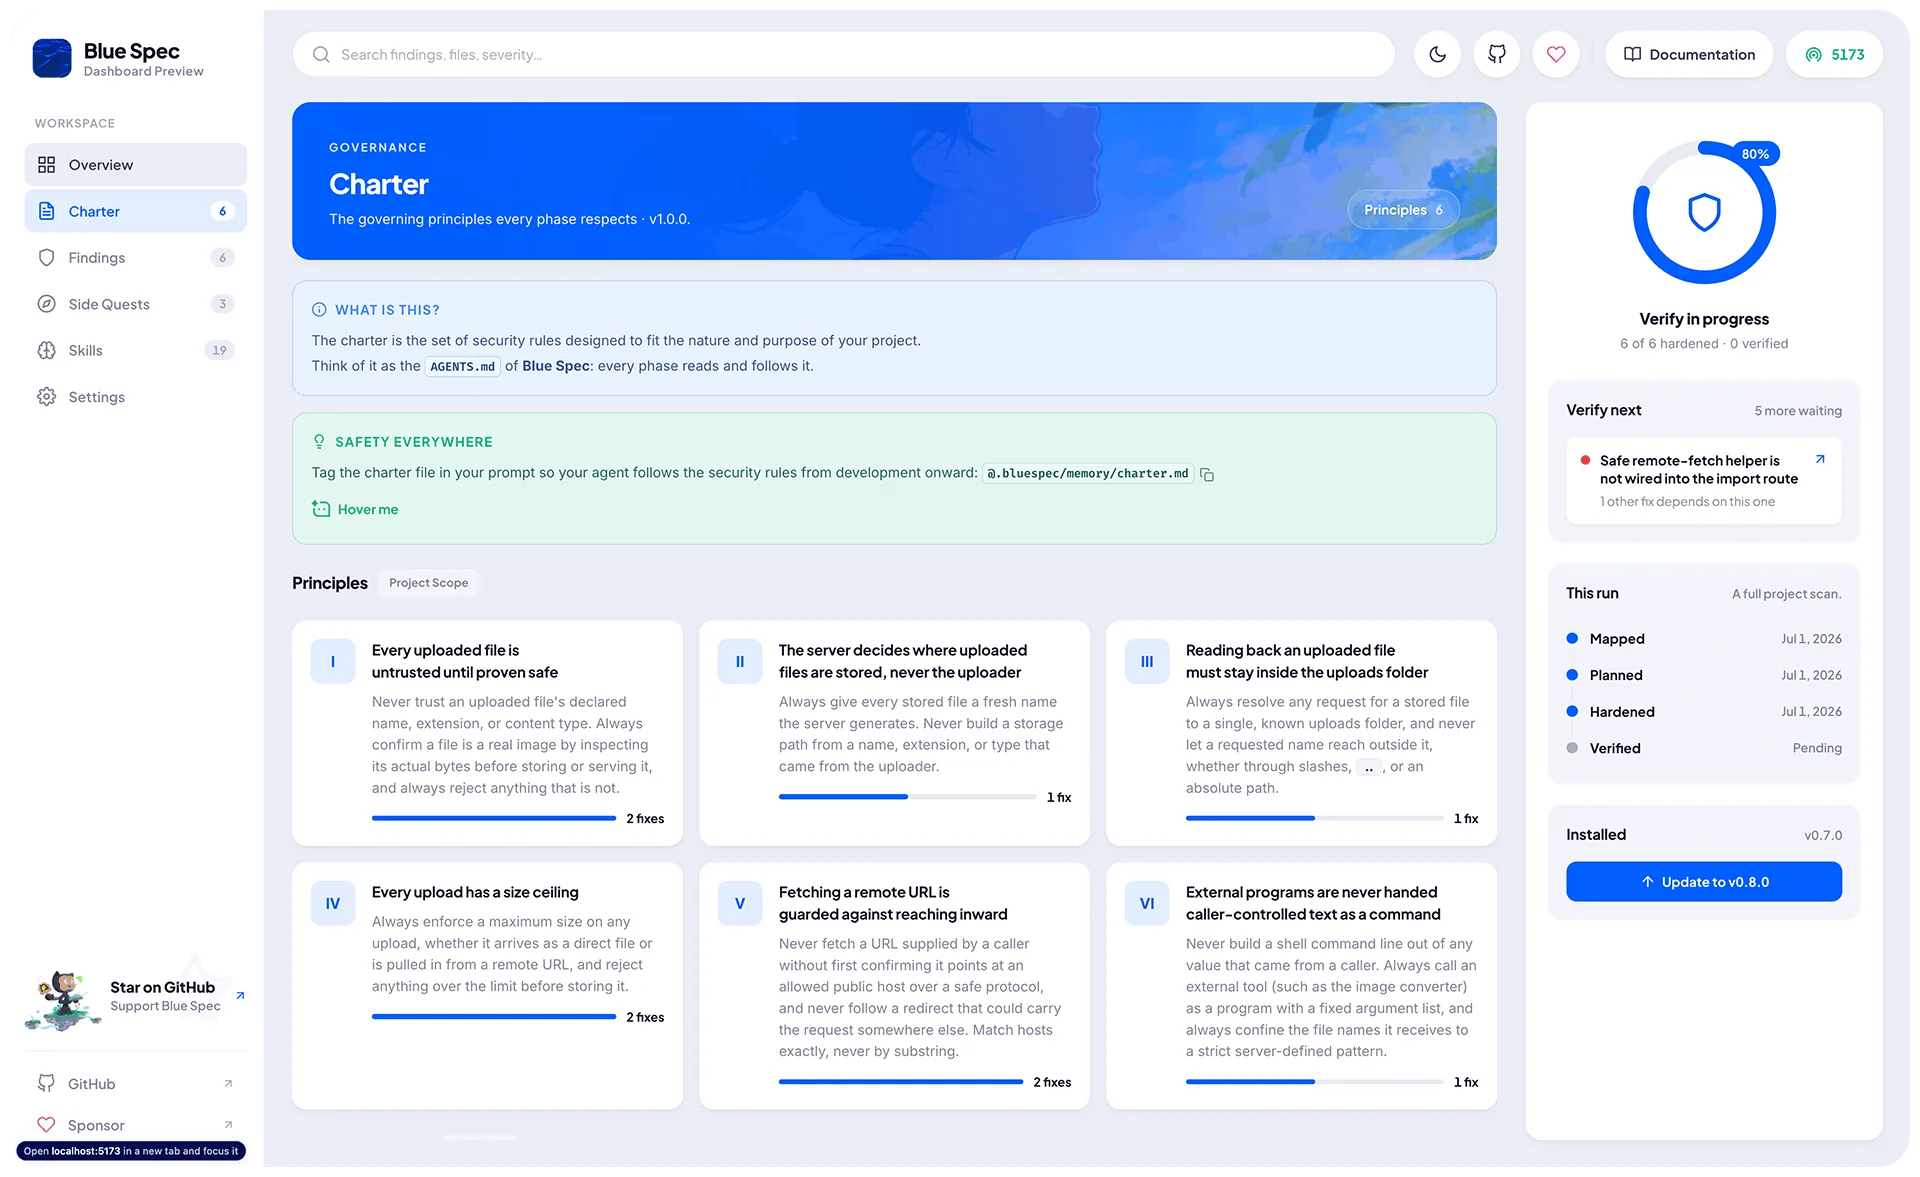
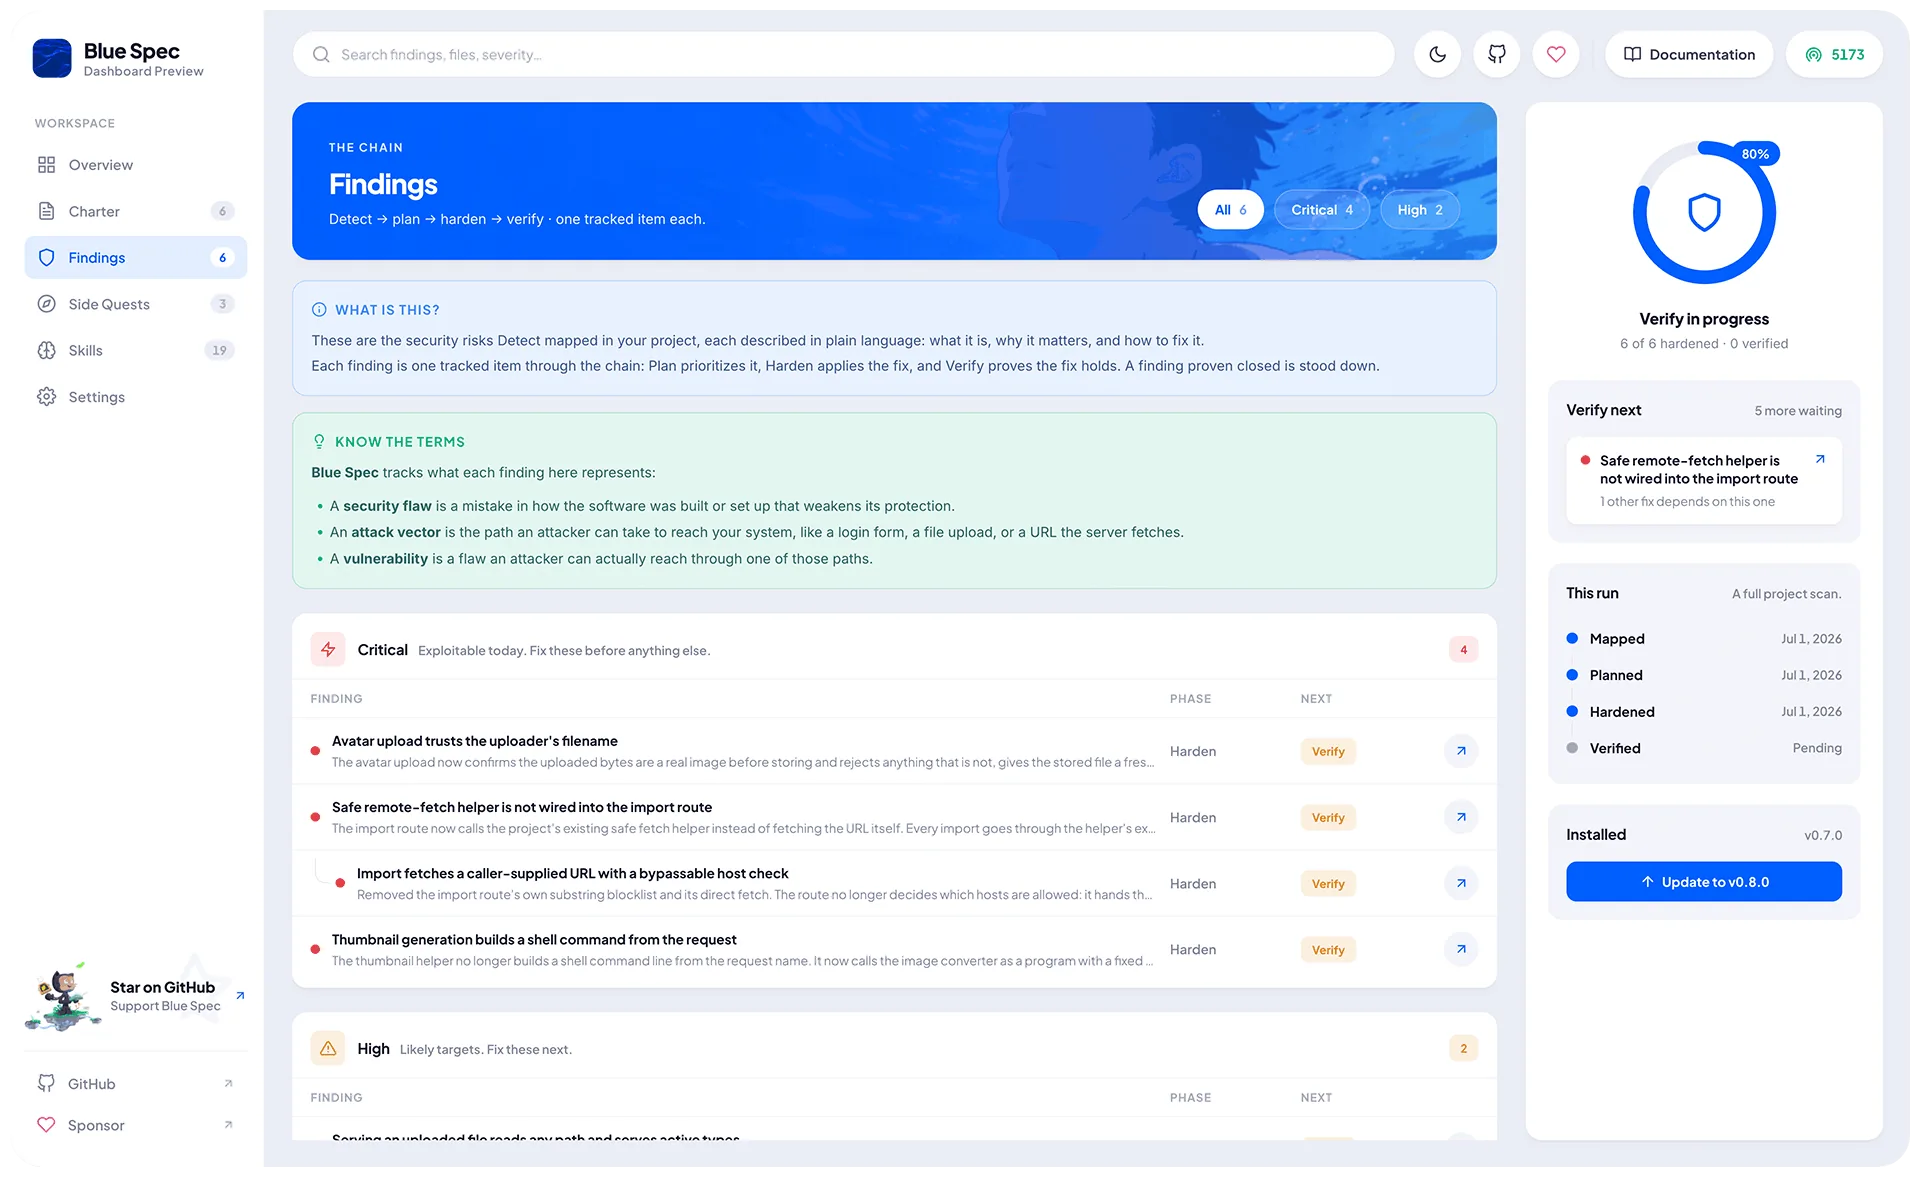
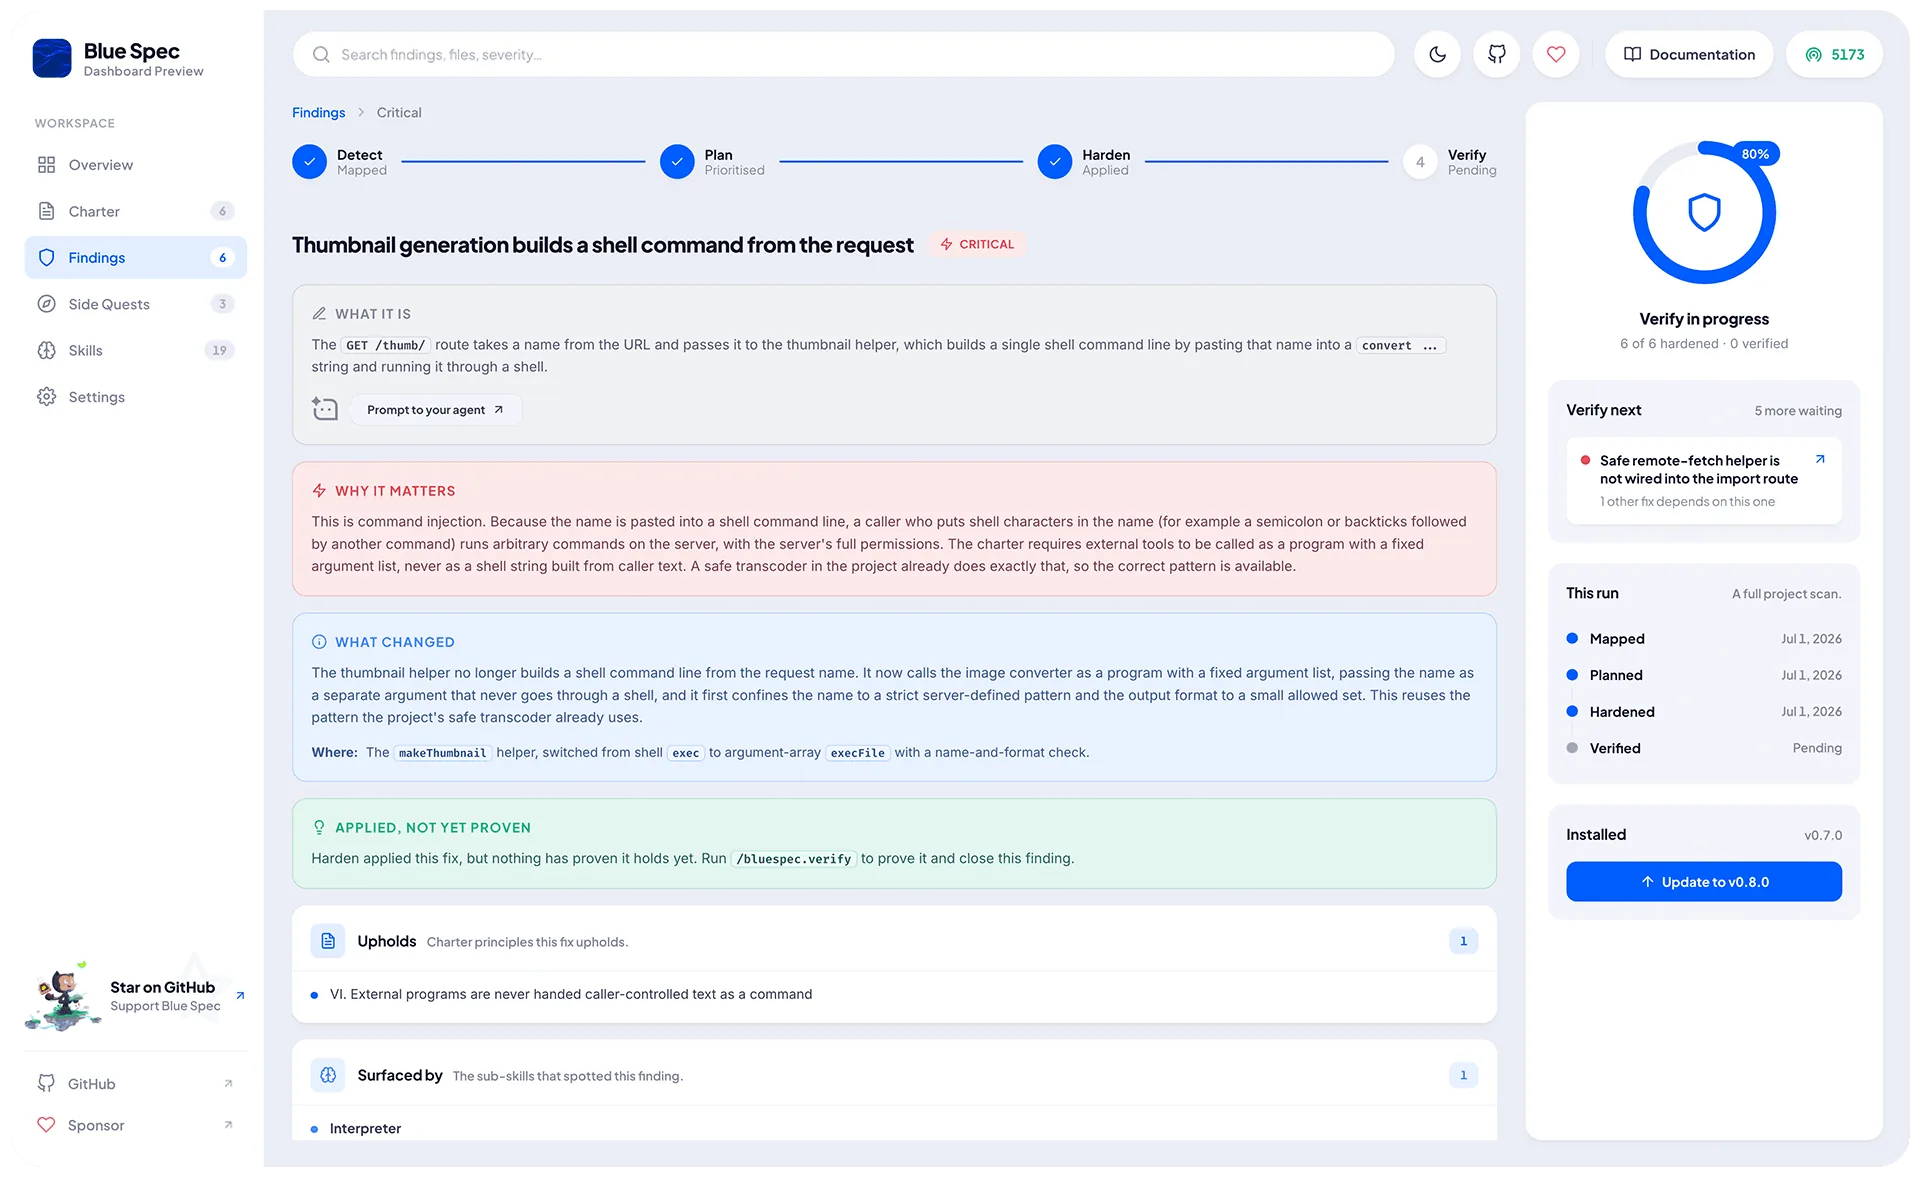
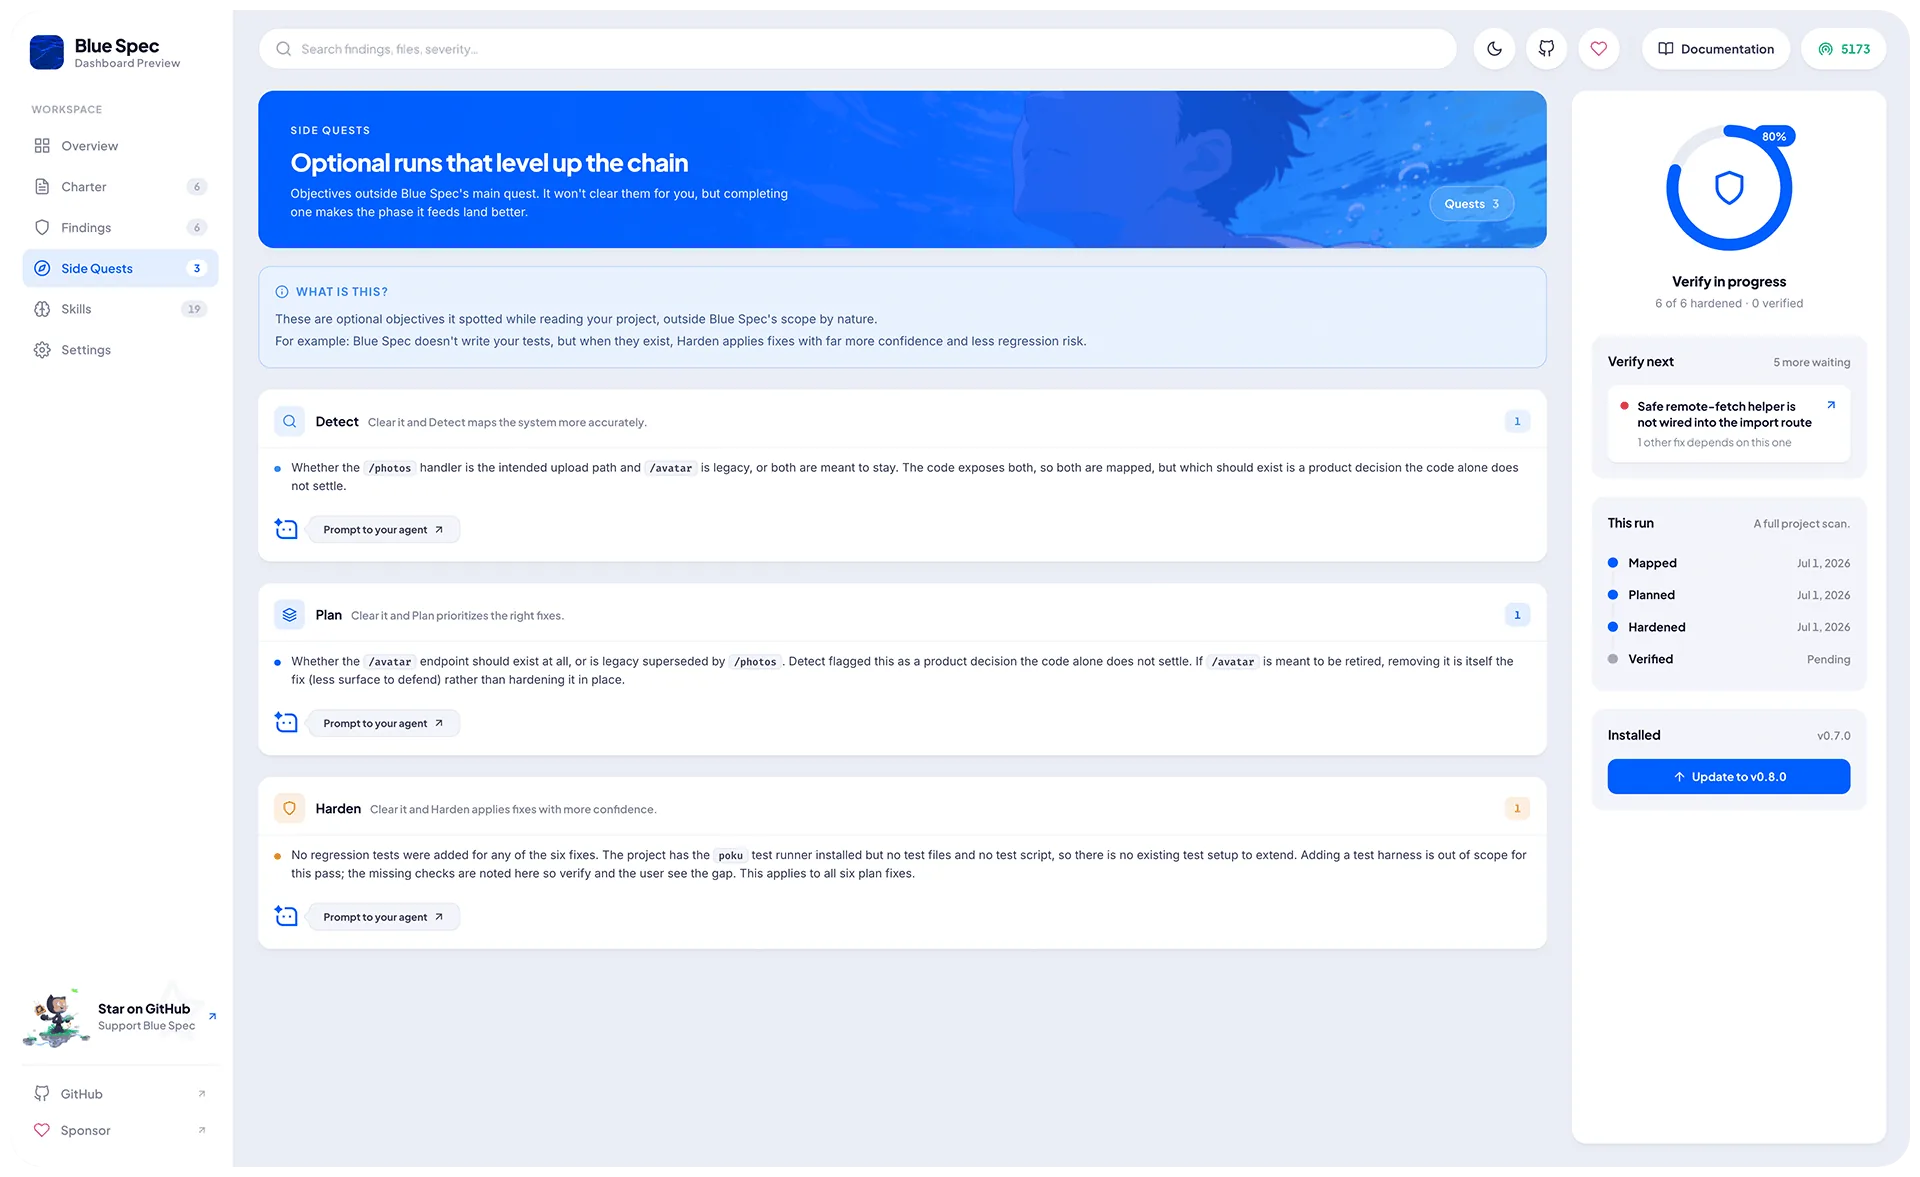
Run Lagune directly with no subcommand for an interactive live view, follow-up, and maintenance. It serves a dashboard and opens it on a random port:
npx -y lagune@latest
- Live Reload
- Private and Local
- Install, Pull, Update, and Manage all Lagune features directly from your browser
- No
node_modulesorpackage.jsonis needed 📦
- 🚪 Use
--portor-pto specify a custom port. - ⏏️ Press
Ctrl+Cto stop.
🃏 Lagune runs on Node.js under the hood, you use whatever language you want.
Requirements
You will need these tools installed on your system:
- Node.js (LTS)
- At least one of the Supported Agents
Use a badge ✨
Using Lagune? Add one to your README:
- Two tones
- Solid

[](https://lagune.ai)

[](https://lagune.ai)

[](https://lagune.ai)

[](https://lagune.ai)

[](https://lagune.ai)

[](https://lagune.ai)
Next
Once Lagune is set up, your agent unlocks a set of slash commands. See Commands.
Frequently Asked Questions
Run npx -y lagune@latest init in your project. It works in both new and existing projects.
No. It runs through your own AI agent, so no API keys are required.
A .lagune/ state directory and a set of slash commands your AI agent can run.
Run npx -y lagune@latest update. Your charter, phase artifacts, and custom specializations stay untouched.
Node.js (LTS) and at least one supported AI agent.